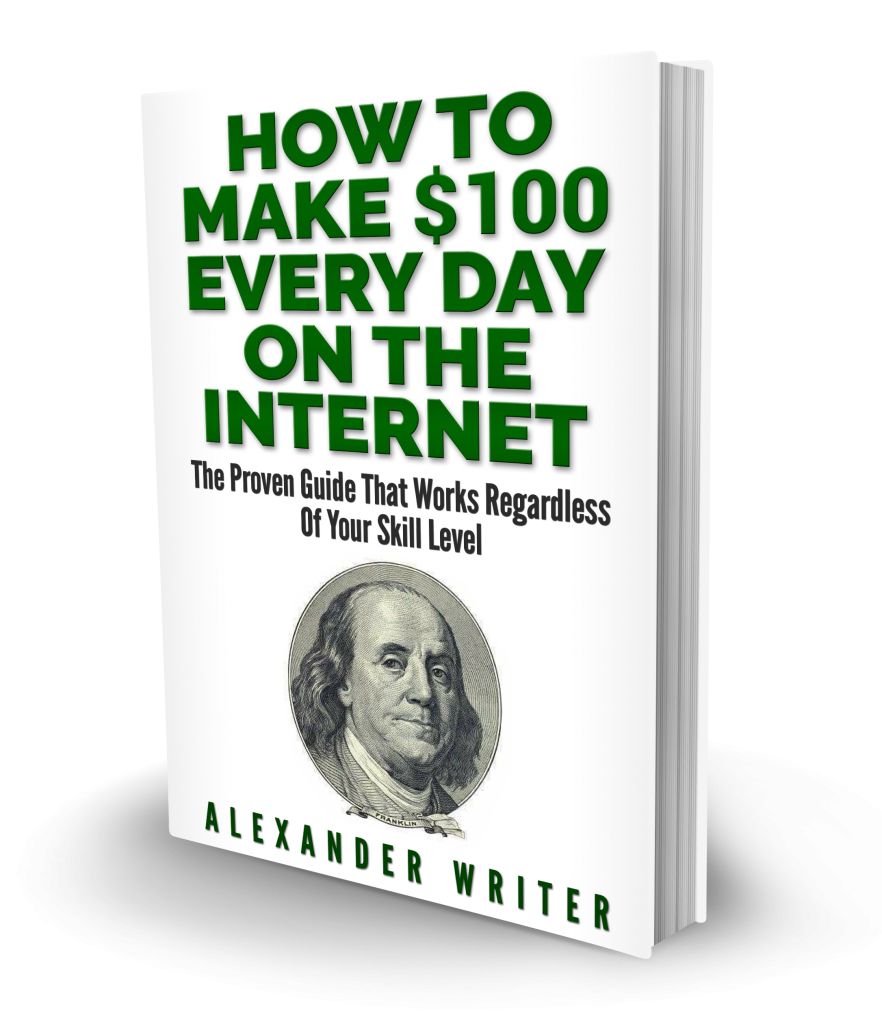
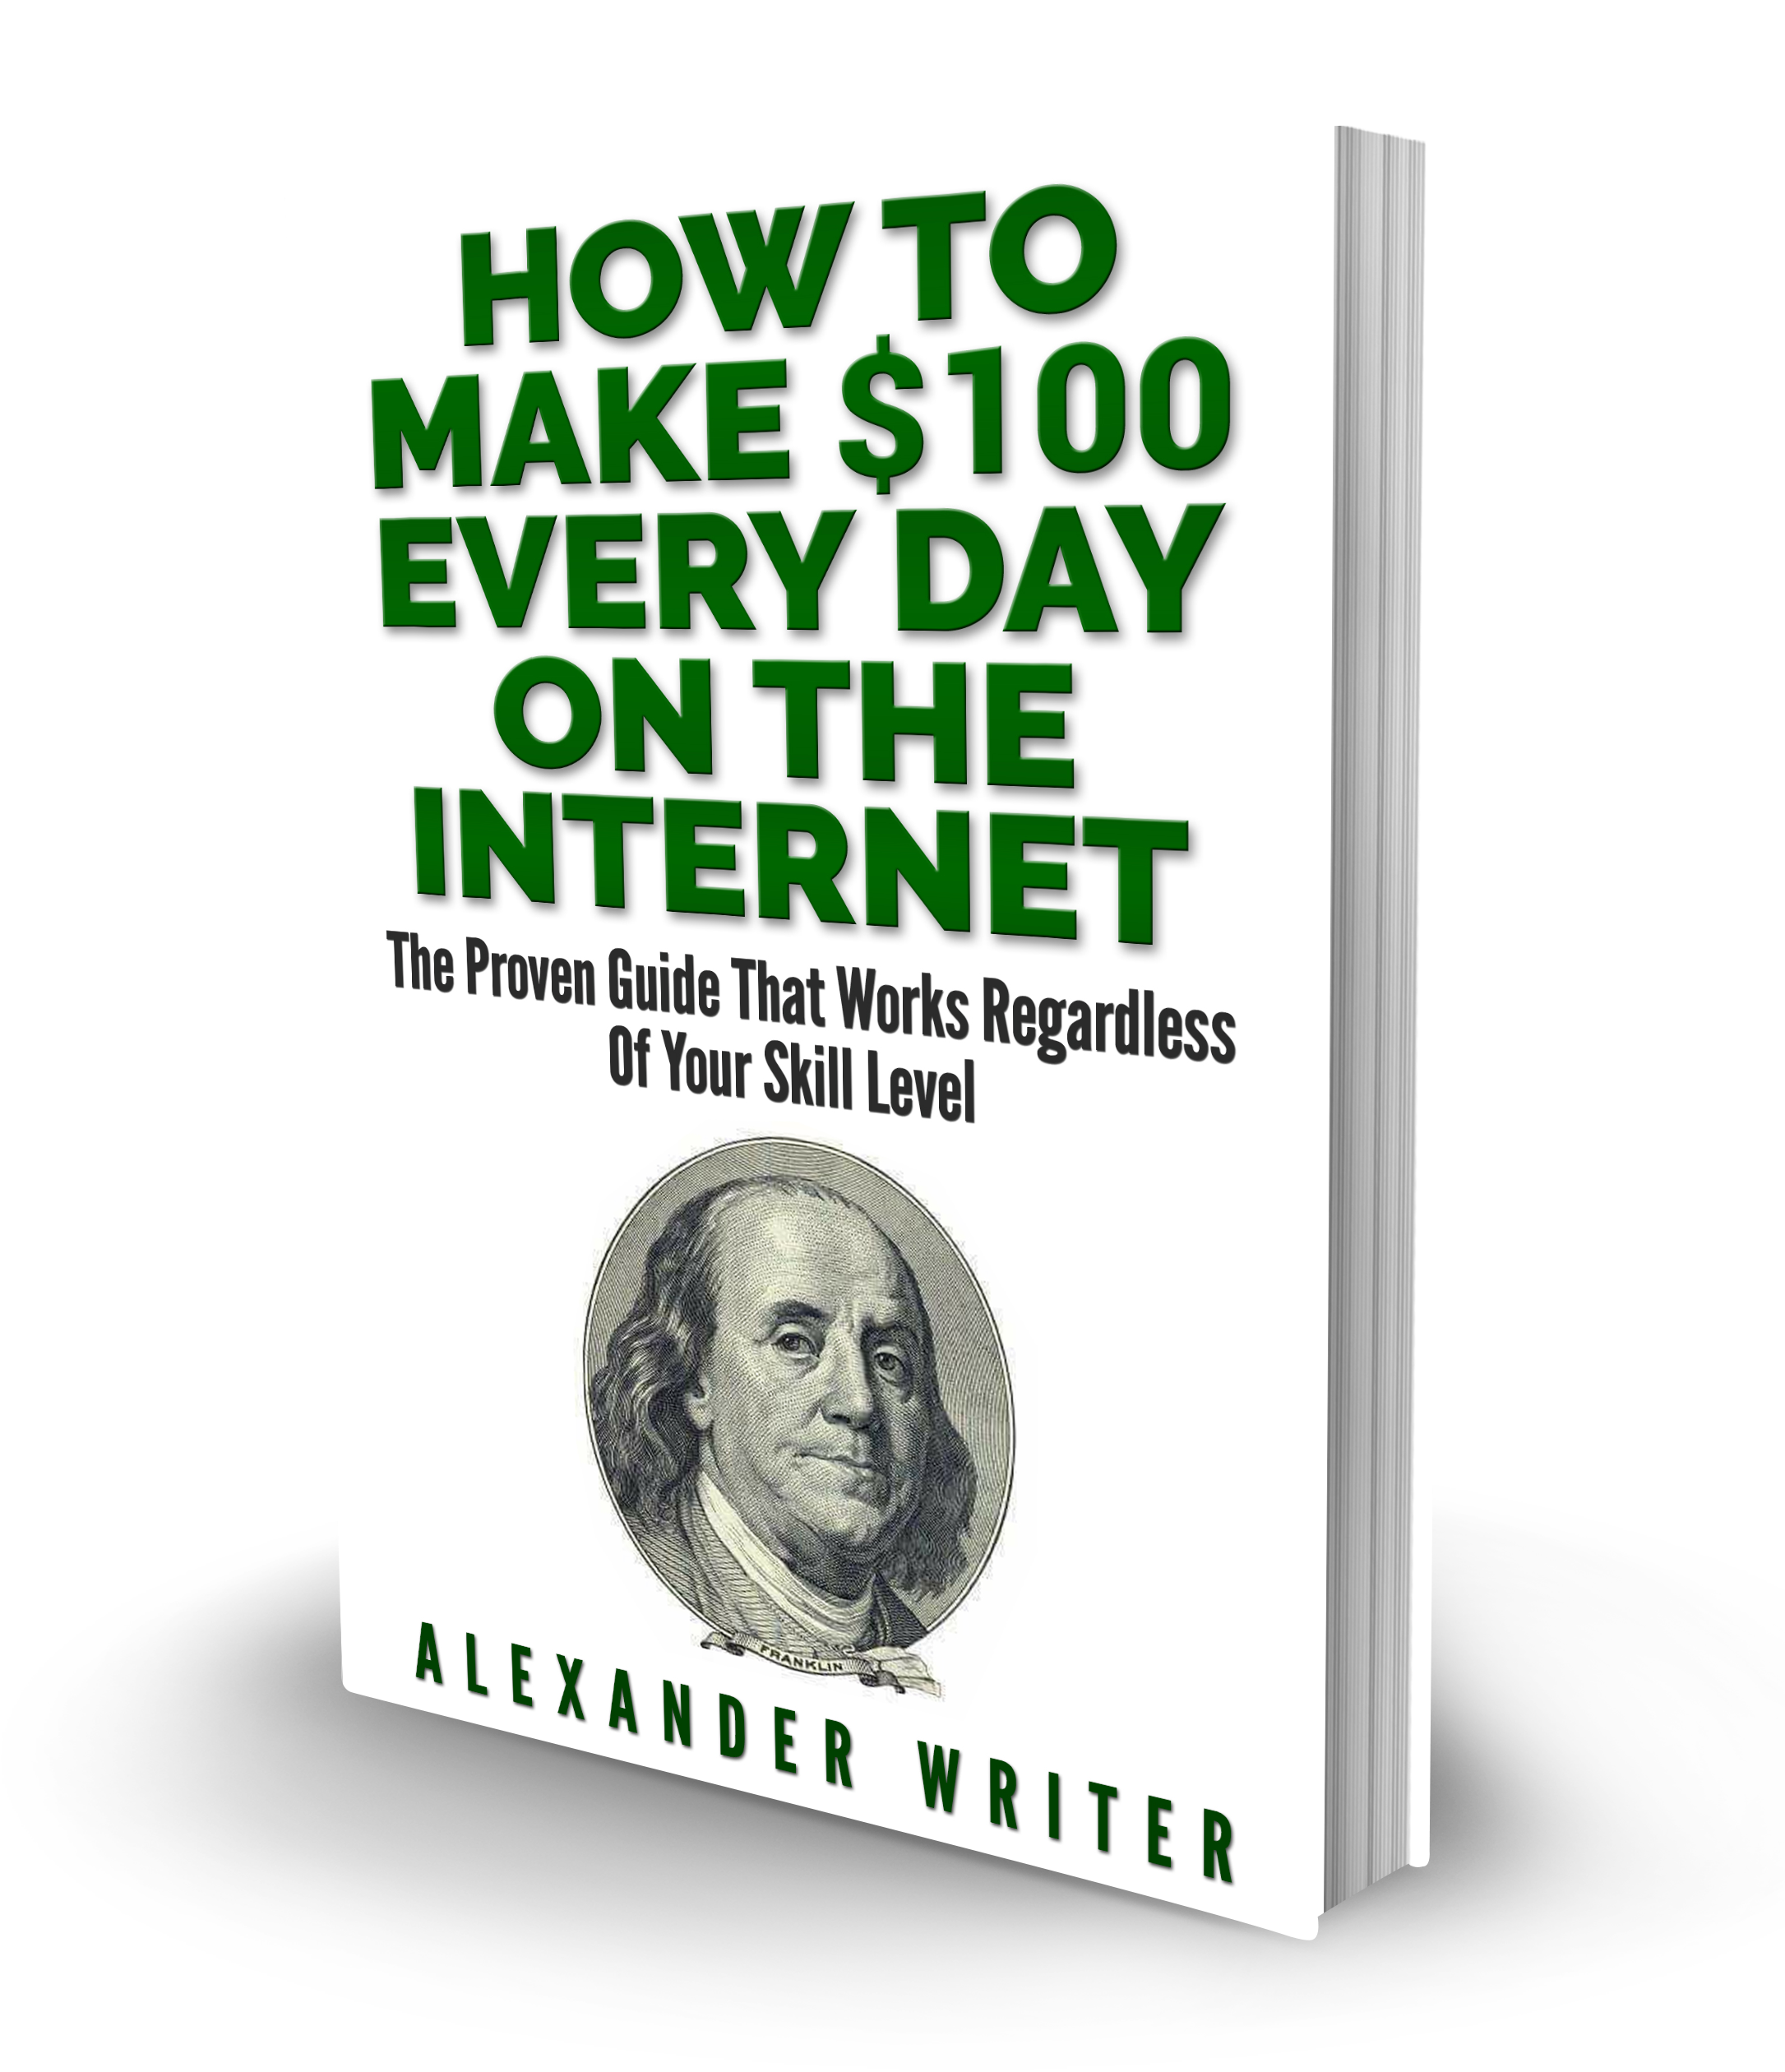
UPDATE: My book “How to Make $100 Every Day on The Internet” containing my NEWEST strategies for making money is now available. Click here now to learn more and download your copy.
How to Easily Create Your Own Ebook and Begin Making Money Online
The internet has taken over.
Digital information is what’s in.
…And if my prediction is correct, it’ll be in for MANY years to come.
Every single day, people go online and search for answers and/or information.
This is great news if you’re thinking about creating your own eBook.
All you need to do is find a problem people are searching a solution for.
Then you simply combine all of it in an eBook.
People don’t necessarily pay you for information, they can learn anything they want doing their own research.
What people pay you for is polished information.
You see, people value their time.
And if YOU can give them all the answers they seek in a single source (eBook) they’ll be willing to pay for it.
You follow me?
People don’t want to waste their time going through many sources, making mistakes, and dealing with frustration.
They want one source to give them all the answers they seek.
So your job is to create that source for them.
…And trust me when I tell you it’s not hard to do.
Put in the time, write the book, help people, and make sales.
Let’s go over how to create your own eBook.
Here we go!
1) Decide What Book You’ll Write
You can either create an eBook for something you already know a LOT about or you can use the Google Keyword Tool to find a problem people are searching a solution for online.
Next, you’ll do your research and find all the answers.
Some of the best topics to write an eBook about include:
- Fitness (Dieting, building muscle, etc.)
- Making money online
- Dating
- Personal Development
Once you have your idea, you’ll need to come up with the title for your book.
Make sure your title clearly states what the book is about.
For example: Mr. Website Builder- The Complete Step-by-Step Guide on Building Your Own Website from Scratch.
Once you have your title, you’ll need to design the book’s cover.
The cover is very important as many people buy eBook’s solely on how the cover looks.
However, you don’t have to go and spend hundreds of dollars.
You can head over to Fiverr.com and get someone to do quality work for cheap.
Most people deliver work with 24 hours, but some may take up to a week.
This is why you’ll want to make this one of the steps you do first!
At this point, you’ll have your eBook idea, title, and cover in place.
You’re making great progress!
You’ll notice how excited you’ll be at this point and eager to complete your eBook.
2) Writing the eBook
Open up the Word program in your computer.
The first thing you do is create the outline for the book.
This will ensure you include all the information you want without leaving anything out.
It will also make the writing process easier.
My outlines typically look like this:
- Disclaimer
- Intro
- Chap. 1
- Chap. 2
- (All other chapters…)
- Conclusion
- Resources
Once your outline is complete, you can begin the actual writing.
Don’t dwell too much on what font size and style to use.
The conversion process from Word to a PDF file automatically adjust the font so the reader can easily read the book.
Reader’s also have the option of making the font smaller or larger on their device.
I’ll discuss the conversion process in detail later.
Just write your eBook in size 12 font and use size 18 for title headings.
Use a font that’s easy to read.
Some of the most popular are: Arial, Times New Roman, and Helvetica
Make sure you include the title at the beginning of each chapter.
You can either choose to write paragraphs or single sentences.
I learned that people enjoy reading single sentences from a study in the book Cashvertising.
Include as much information as possible in each chapter.
Do your best to provide the reader with all the knowledge they’ll need.
Proofread each chapter and look for sentences and words you can delete.
Your goal is to get your message across in as few words as possible while not leaving out anything important.
If you really want your eBook to stand the test of time, you need to take your time and make it as flawless as possible.
Yes, this requires time, energy, effort, and patience; but always remember that once your eBook is complete, it will make you money FOREVER without you ever having to worry about it again.
Take a look at the book The Secret.
It was released in 2006 and still having MASSIVE success since the author took her time with it.
My guess is that book will continue to sell very well for many years to come.
Do the work, put the time in, and enjoy the rewards.
Questions?
3) Polishing
Once you’ve written the entire book, it’s time to begin the polishing stages.
This will make your book appear professional and well organized.
The first thing you want to do is create a ‘Footer’.
This will show your book title and page number at the end of every page.
Not only does it look professional, it’s necessary.
As you see in the picture, you’ll want to include the title of your book and on the far left and the page number on the far right.
Some people like to include additional things in this area but this alone will work fine.
A footer helps your eBook look like an actual book instead of a long story.
Make sure you include one!
To add a footer, click insert and then footer.
You’ll have many selections to choose from.
I like to use Retrospect.
The next thing you’ll want to do is create a clickable table of contents.
This makes it easy for people to quickly jump to any chapter.
People tend to over complicate the hell out of this process but I discovered a simple way to do it.
The first thing you do is change the font style of each title from Normal to Heading 1.
Simply highlight the chapter title and click on Heading 1.
You’ll have to do this for each and every chapter title.
Next, return to your table of contents page and right click each chapter, and click edit hyperlink.
You’ll click Place in this Document and on the title heading you’ll want to link.
Click ‘OK’ when done.
After you’ve linked all the chapters, click ‘Save’ and go one by one to ensure they redirect to the correct chapter when clicked.
See that?
Easy, easy, easy!
Let’s continue…
4) Convert from Word to PDF
This is the easiest process in the world that’s done with a single click.
Instead of paying someone to do this for you, you simply do the following:
Go to File, click Export, and Create PDF/XPS Document.
Word will automatically convert your eBook into a PDF file.
Once the conversion process is complete, you’ll need to review your entire book one final time.
You’ll want to make sure it’s looks just as great in its PDF format before making it available for sale.
To-Do List:
- Check for any typos and/or editing necessary
- Eliminate any unnecessary words or sentences
- Ensure all affiliate links (if any) redirect the reader when clicked
- Ensure the table of contents is clickable
- Ensure the Footer appears on every page
Once that’s done, your eBook will be ready to be offered for sale.
Congratulations!
5) How and Where to Sell Your Ebook
First thing you need to create is the landing page (sales page) people will be redirected to when they click on your book.
So whether they find your book on your website or someone else’s; a landing page will allow them to learn more before buying.
Some people have it so that when their book is clicked, it redirects the customer directly to the payment page.
However, I highly recommend you create a sales page to improve the chances of making the sale.
The sales page does not have to be complicated.
Just simply discuss what the eBook is about, why you decided to create it, what the reader will learn, your guarantee (return policy), and of course a ‘Buy Now’ button.
You can refer to the sales page for my eBook for an example.
You’ll notice that most sales pages don’t have anything (no widgets) to the far right.
Let’s look at mine.
This is important because once you have potential customers on your sales page, you don’t want them to have any distractions.
You want 100% of their focus to be on your message.
Notice as you’re reading this right now how all my widgets are displayed to the right, but if you click on my Start Your Own Website tab in the menu area, they disappear.
This is something else people love to over-complicate.
As you can tell, I like keeping things simple.
The FREE and easy way to do this is to download the plug-in Widget Logic.
Activate the plug-in your widgets section.
Go to each widget one by one and add the following code:
- !is_page(‘Your sales page title here’)
As an example, my sales page title is ‘Start Your Own Website’.
In the image below, you see how I’d write my code.
Do this for your sales page and any other page you’d wish to hide your widgets.
Once your sales page is set up, you’ll now shift your focus to where you’ll be selling your book.
Eventually, you’ll want it to be available in as many places as possible.
Here are some of those places:
- Your own website/blog
- Other websites/blogs (affiliates)
- Forums
- Amazon
You can create an affiliate program for your book with E-junkie so other people can advertise it on their websites.
E-junkie can (and should) be used as your payment processor.
A payment processor is what redirects customers to PayPal when they click the Buy Now button.
Once payment is processed, E-junkie will automatically provide them the file (your eBook) to download.
That means there’s no additional work on your part.
Yes, that also means you could be home sleeping and someone can land on your sales page, buy your book, and put money into your bank account without any effort necessary on your part.
Not bad, huh?…Yeah, I don’t think so either.
E-junkie is only $5 a month and their affiliate program is free.
That means that people can advertise your book free of charge on their website when they join your affiliate program.
It doesn’t get any better than that!
E-junkie has both a ‘Sellers’ and ‘Affiliates’ section.
Once your eBook is complete, you simply create an E-junkie account and upload the PDF file.
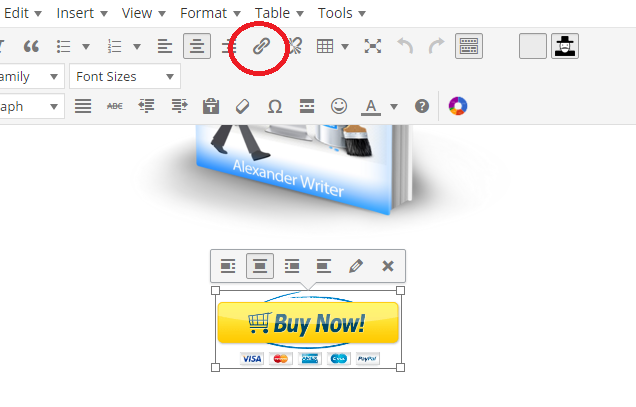
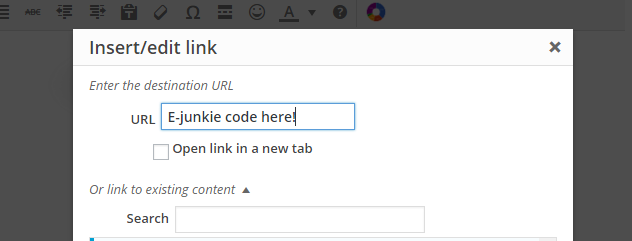
They’ll provide you a link to add to your Buy Now button so customers will be automatically redirected when they click it.
Simply click your Buy Now button and then the link icon. Copy and paste the link E-junkie gives you and click save.

Done!
As you see, anyone can do this.
It just requires taking action but in no way whatsoever is it hard or impossible.
Write your eBook, makes some sales, and celebrate.
You can thank me later.
Talk soon,
-Alex
PS – Download my NEWEST book “How To Make $100 Every Day On The Internet” because it’s going to show you my ALL my proven ways to make money online.


Alex (Administrator) says
My pleasure, David. Thank you for the feedback.
David says
Hey Alex.
I’ve been reading your site for quite some time already and intertiawillhurtya has come a long way.
I like your style of writing where you spoon-feed readers with the exact steps to take, along with photographs and screen shots. It’s helpful to see photos, than just read text. I’ve always been drawn to this style of writing.
Great article again and keep on writing awesome entries.